

This guide explains how to bypass Windows 11 system requirements and install Windows 11 on unsupported hardware. Follow each step carefully to avoid installation issues.
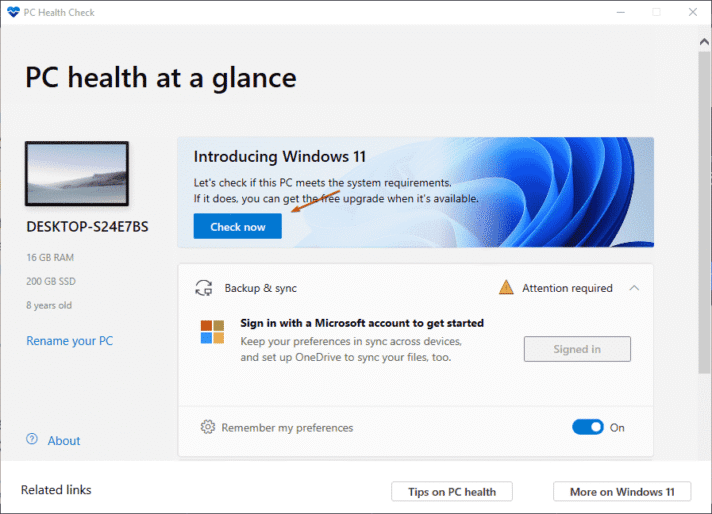
Step 1: Check Your Current System
Before you start, confirm which requirements block your upgrade. Most systems fail due to:
- Unsupported CPU
- Missing TPM 2.0
- Secure Boot disabled
You can check this using Microsoft’s PC Health Check tool or system settings.
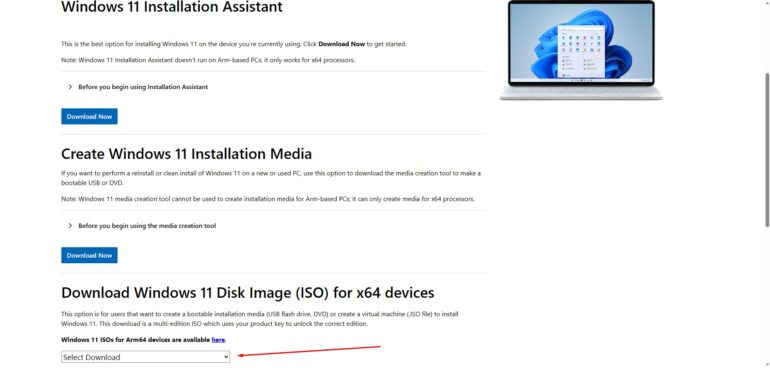
Step 2: Download the Official Windows 11 ISO
Instead of upgrading through Windows Update, download the official Windows 11 ISO directly from Microsoft.
Using the ISO gives you more control and avoids automatic compatibility blocks.
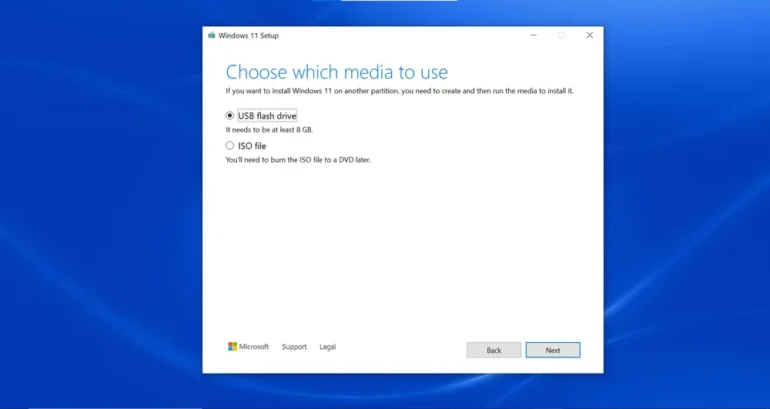
Step 3: Create a Bootable USB Drive
Next, create a bootable USB using a trusted tool. This allows you to start the installation manually rather than relying on Windows Update checks.
Make sure the USB:
- Uses GPT partition style
- Supports UEFI boot mode
- Contains the Windows 11 ISO
Step 4: Bypass Hardware Checks During Installation
During setup, Windows checks for TPM, Secure Boot, and CPU compatibility.
At this stage, you can bypass these checks by adjusting installation settings before continuing.
This step allows the installer to proceed even if your hardware does not meet official requirements.
Step 5: Complete the Windows 11 Installation
After bypassing the checks, continue with the installation as usual.
Follow on-screen instructions to select your drive, region, and user settings.
Once finished, Windows 11 should boot normally on your unsupported system.
Step 6: Install Drivers and Updates
After installation:
- Install the latest chipset and graphics drivers
- Run Windows Update to apply available security patches
Although Microsoft may limit future updates, many systems still receive regular fixes.