
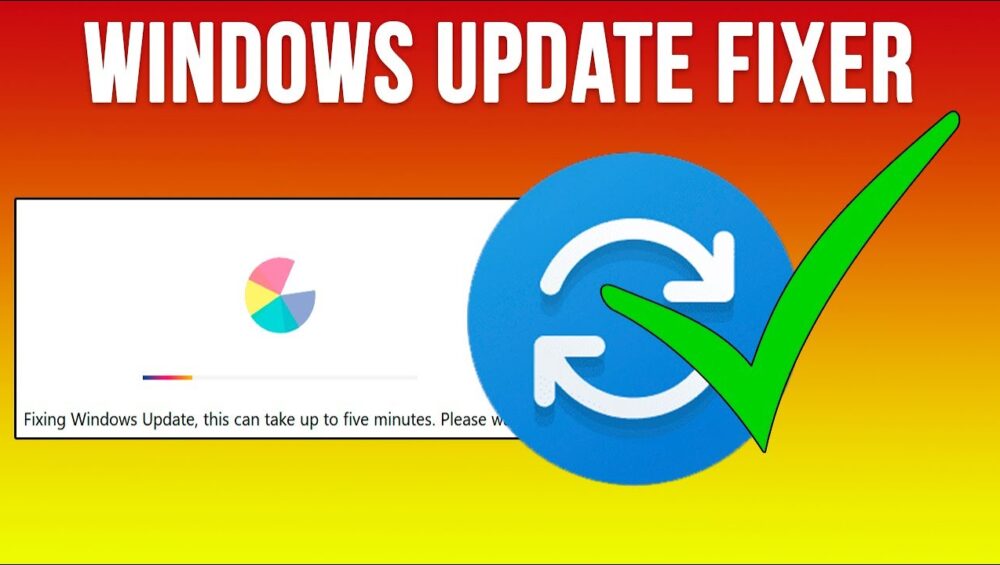
Windows Update Fixer is the fastest way to repair Windows Update errors and restore proper update functionality. If your computer is stuck downloading updates, showing error codes like 0x80070002, or failing to install updates, this Windows Update Fixer guide will help you resolve the problem safely and effectively. Keeping Windows updated is essential for security, stability, and performance.
What Is Windows Update Fixer?
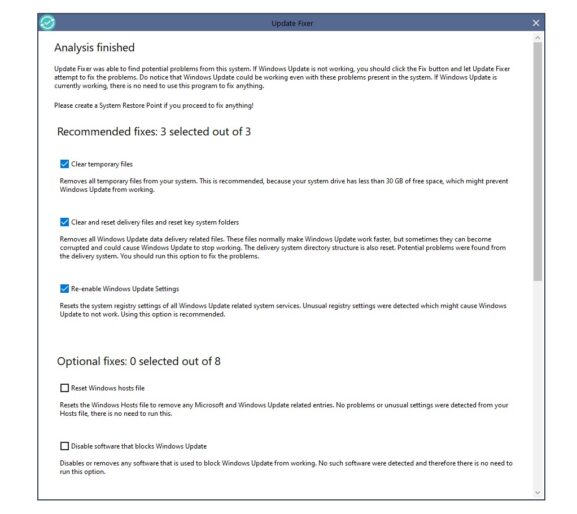
Windows Update Fixer is a repair solution designed to reset Windows Update components, clear corrupted update cache files, and restart essential services. When Windows updates fail, the issue is usually caused by damaged system files, interrupted downloads, or corrupted update folders.
Using a Windows Update Fixer tool helps you:
- Reset Windows Update services
- Repair corrupted update components
- Clear the SoftwareDistribution cache
- Fix common Windows Update error codes
If you’re experiencing performance issues, you may also want to check our guide on fixing slow Windows performance (internal link example).
Common Errors Fixed by Windows Update Fixer
Windows Update Fixer resolves many common update problems, including:
- Windows Update error 0x80070002
- Windows Update error 0x80070057
- Windows Update stuck at 0% or 100%
- Windows Update installation failed
- Windows Update service not running
These problems can prevent important security patches from installing, leaving your system vulnerable.
For more Windows troubleshooting tutorials, see our Windows repair guides section (internal link example).
How to Use Windows Update Fixer (Step-by-Step Guide)
Follow this Windows Update Fixer method carefully.
Step 1: Download Windows Update Fixer
- Visit the official Windows Update Fixer website.
- Download the latest version compatible with Windows 10 or Windows 11.
- Save the file to your Desktop.
Click here to download portable Update Fixer
Step 2: Run Windows Update Fixer as Administrator
- Right-click the downloaded file.
- Select Run as Administrator.
- Click Yes if prompted by User Account Control.
Running Windows Update Fixer with administrator privileges ensures all update services can be reset correctly.
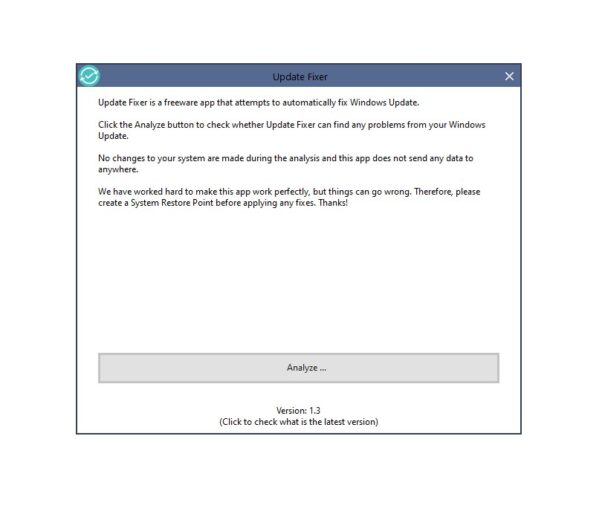
Step 3: Start the Windows Update Fixer Repair Process
- Click Scan or Fix Now.
- The Windows Update Fixer will:
- Stop update services
- Clear update cache
- Reset Windows Update components
- Restart services
Wait for the repair process to complete.
Step 4: Restart and Check for Updates
- Restart your computer.
- Open Settings → Windows Update.
- Click Check for Updates.
Your Windows Update system should now function normally.
Manual Windows Update Fixer Method (Advanced)
If you prefer a manual Windows Update Fixer approach, follow these steps:
Open Command Prompt as Administrator and run:
net stop wuauserv
net stop cryptSvc
net stop bits
net stop msiserver
Rename update folders:
ren C:\Windows\SoftwareDistribution SoftwareDistribution.old
ren C:\Windows\System32\catroot2 catroot2.old
Restart services:
net start wuauserv
net start cryptSvc
net start bits
net start msiserver
Restart your PC and check for updates again.
Why Windows Update Fixer Is Important
Using Windows Update Fixer ensures:
- Security patches install correctly
- System stability improves
- Performance issues caused by failed updates are resolved
- Update errors no longer interrupt your workflow
Regular maintenance prevents recurring update failures.
Tips to Prevent Future Windows Update Errors
To avoid needing Windows Update Fixer frequently:
- Keep at least 20GB free disk space
- Avoid interrupting updates
- Keep drivers updated
- Use genuine Windows versions
- Run regular malware scans
You can also read our complete Windows maintenance checklist (internal link example).
Frequently Asked Questions About Windows Update Fixer
Is Windows Update Fixer safe?
Yes. Windows Update Fixer resets update components without deleting personal files.
Does Windows Update Fixer work on Windows 10 and 11?
Yes. Most versions support both operating systems.
Will Windows Update Fixer delete my files?
No. It only repairs update-related components.