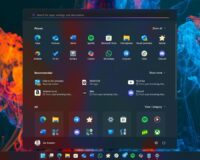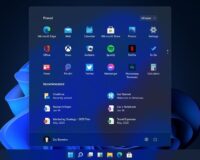
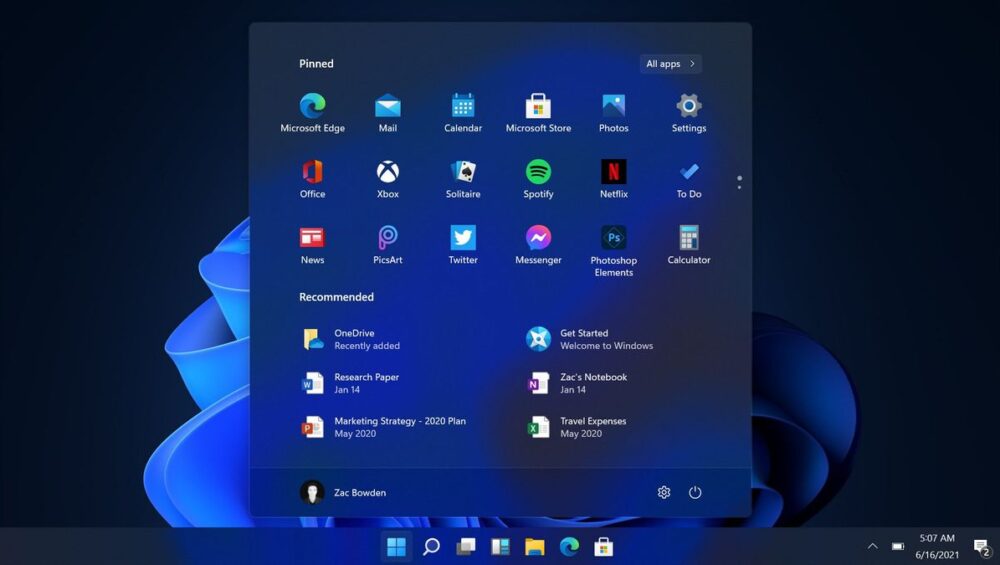
If you want to install Windows 11 on old PC hardware, you may see the error “This PC can’t run Windows 11.” This happens because of strict hardware checks like TPM 2.0 and CPU support. However, there is a simple method that allows you to install Windows 11 on old PC systems without upgrading hardware.Install Windows 11 on old PC without TPM. Use this simple trick to bypass hardware requirements and set up a bootable USB.
Windows 11 Hardware Requirements (Official)
According to Windows 11 requirements, your PC must have:
- 1 GHz or faster processor with 2+ cores
- 4 GB RAM
- 64 GB storage
- TPM 2.0
- UEFI with Secure Boot
Older systems usually fail because of TPM or unsupported CPUs.
However, you can bypass these checks using the method below.
What You Need Before You Start
Before installing Windows 11 on an old PC, download the following tools:
- 7-Zip (Free file extractor)
- ImgBurn (Portable version recommended)
- Windows 10 ISO file
- Windows 11 ISO file
You can download official ISO files from Microsoft’s website.
How to Install Windows 11 on Unsupported Hardware
Follow these steps carefully.
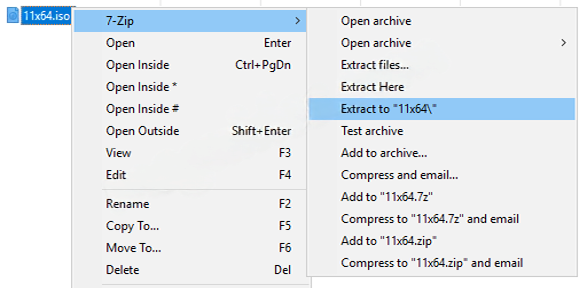
Step 1: Extract Both ISO Files
First, right-click each ISO file.
Then extract them using 7-Zip.
After extraction:
- Rename the Windows 10 folder to W10
- Rename the Windows 11 folder to W11
This makes the process easier.
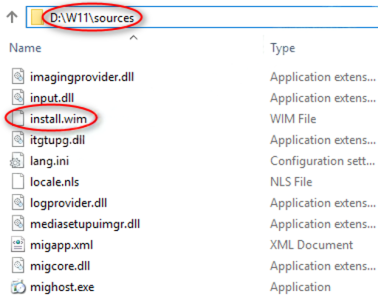
Step 2: Replace the install.wim File
Next, open the folder:
W11 → sources
Copy the file named:
install.wim
Now go to:
W10 → sources
Paste the file there and replace the existing install.wim file.
This step allows the Windows 10 installer to load Windows 11 files without performing strict hardware checks.
Step 3: Create a New ISO Image
Now you must build a new ISO file.
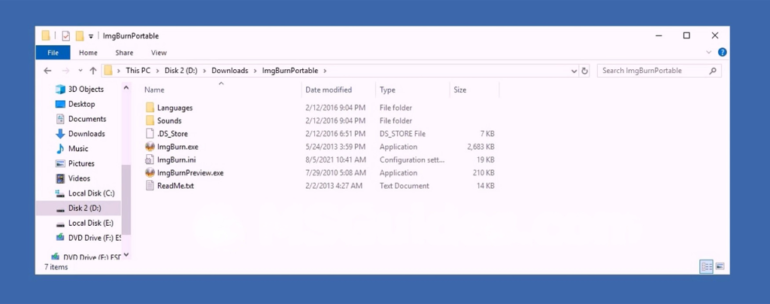
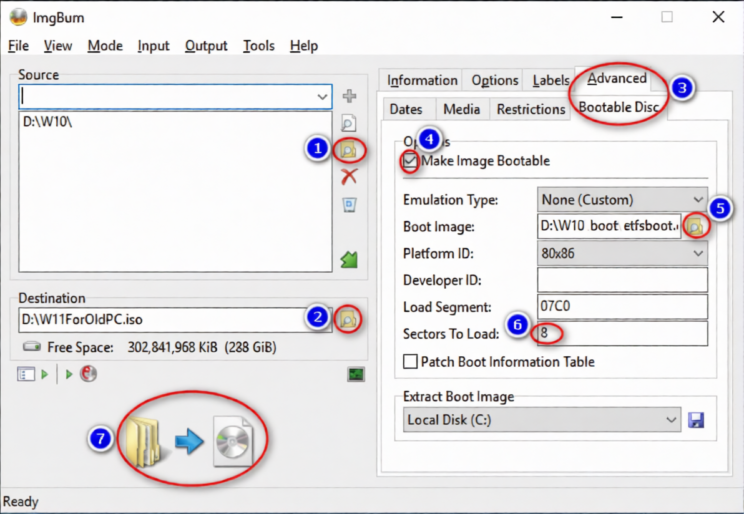
Open the portable version of ImgBurn.
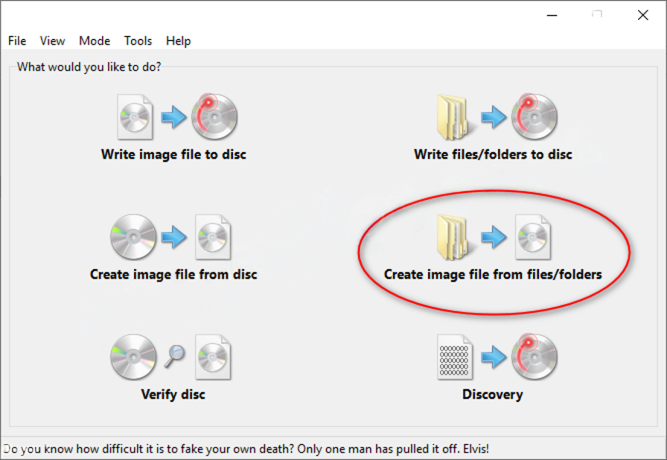
Select:
Create image file from files/folders
Then:
- Choose the W10 folder as the source
- Select a destination folder and name the new ISO file
- Click the Advanced tab
- Choose Bootable Disc
- Check Make Image Bootable
- Select the file etfsboot.com inside the W10\boot folder
- Set the value to 8
- Click Build
Wait until the ISO file is created.
Create a Windows 11 Bootable USB
After the ISO is ready, create a bootable USB drive.
You can use ImgBurn
Insert a USB drive (8 GB or larger).
Then flash the new ISO file to the USB drive.
Now you have a Windows 11 bootable USB that works on many unsupported PCs.
Important Notes
- This method bypasses TPM and CPU checks.
- Updates may not always be guaranteed.
- Performance depends on your hardware.
However, many users report that Windows 11 runs smoothly even on older systems.